


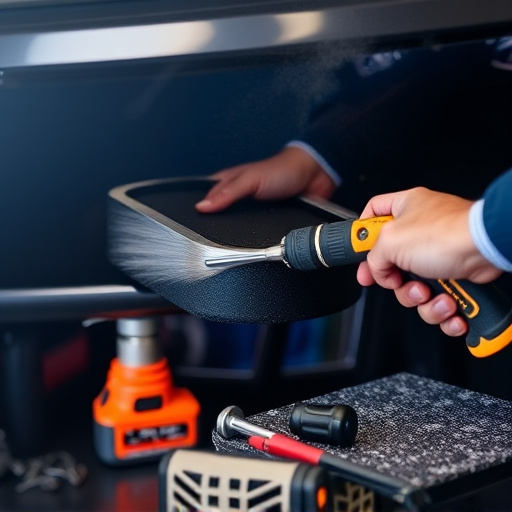


An ultrasonic thickness gauge uses high-frequency sound pulses to measure material thickness non-destructively. Best practices for use include proper transducer coupling, surface preparation, and adjusting frequency to match the material. Pre-use checks are vital for accurate results, including damage inspection, component attachment verification, power supply confirmation, and regular calibration. Proper handling, storage in a clean dry place, and regular cleaning with recommended solutions maintain gauge accuracy and reliability for applications like collision repairs and paintless dent repair.
“Discover the secrets to efficient operation of an ultrasonic thickness gauge—a versatile tool for precise material measurement. This comprehensive guide delves into the fundamentals, ensuring accuracy through in-depth exploration of principles behind these devices. From pre-use checks and calibration techniques to safe handling and maintenance practices, master best practices to optimize your work with this advanced technology. Enhance your skill set and elevate precision with our expert insights on ultrasonic thickness gauge tools.”
- Understanding Ultrasonic Thickness Gauge Principles
- Pre-Use Checks and Calibration Techniques
- Safe Handling and Maintenance Practices
Understanding Ultrasonic Thickness Gauge Principles
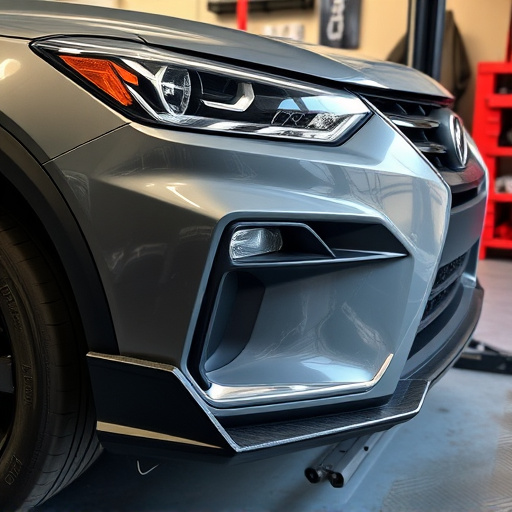
An ultrasonic thickness gauge operates on sound waves to measure material thickness non-destructively. This technology sends high-frequency sound pulses through a material and calculates its thickness based on the time taken for the pulse to echo back. Understanding this principle is crucial when operating such tools, ensuring accurate measurements across various materials. In applications like car repair shops or collision centers, where precision is vital, such as in Mercedes-Benz collision repairs, adhering to best practices ensures consistent and reliable results.
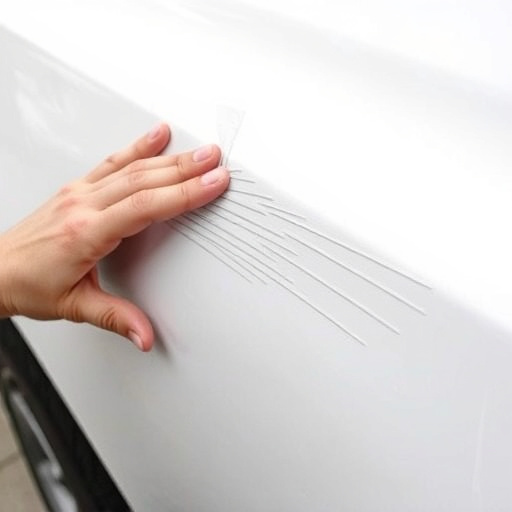
For instance, maintaining proper coupling between the gauge’s transducer and the material surface is essential. Ensuring the surface is clean, dry, and free of contaminants guarantees optimal sound transmission. Additionally, adjusting the gauge to the correct frequency for the material being tested allows for precise measurements across different thicknesses and materials, from thin sheets to robust automotive components found in collision centers.
Pre-Use Checks and Calibration Techniques

Before utilizing an ultrasonic thickness gauge, performing comprehensive pre-use checks is paramount to ensure accuracy and reliability. Begin by inspecting the device for any visible damage or signs of wear. Verify that all components, including sensors and transducers, are securely attached and free from debris or contaminants. Ensure proper power supply and connectivity, checking batteries (if applicable) and cables for functionality. Calibration is another critical aspect; regular calibration ensures the gauge provides precise measurements. Many modern ultrasonic thickness gauges offer built-in calibration routines that guide users through the process. These procedures involve comparing known standards to adjust the device’s internal parameters, ensuring consistent and accurate readings over time.
For auto repair near me or luxury vehicle repair enthusiasts, maintaining a well-calibrated ultrasonic thickness gauge is essential for precise panel replacement techniques, such as paintless dent repair. Regular pre-use checks and calibration can help avoid errors that may lead to costly mistakes in these specialized repairs, ensuring the integrity of the finished work.
Safe Handling and Maintenance Practices
Proper handling and regular maintenance are paramount for keeping your ultrasonic thickness gauge tool in top condition. Always handle the device with care, ensuring no physical damage occurs to its delicate components. Wear protective gear, such as gloves, when operating the gauge to prevent any accidental exposure or contamination. When not in use, store it in a clean, dry place away from extreme temperatures and direct sunlight.
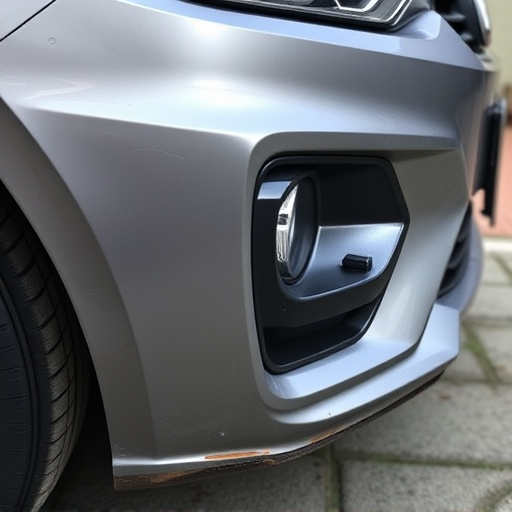
Regular maintenance includes periodic cleaning to remove dust and debris, which can affect measurement accuracy. Use only recommended cleaning solutions and materials to avoid damaging the device’s surfaces. Additionally, keep an eye on calibration; regular calibration ensures the gauge provides precise readings. For instance, after extensive use or when shifting to different materials, calibrating the ultrasonic thickness gauge is crucial for accurate car paint repair or scratch repair tasks in classic car restoration projects.
An ultrasonic thickness gauge is a powerful tool for accurate material measurement, but proper operation requires understanding its principles, regular calibration, and safe handling. By following these best practices, users can ensure consistent and reliable results, making the ultrasonic thickness gauge an indispensable asset in industries that demand precise material analysis.